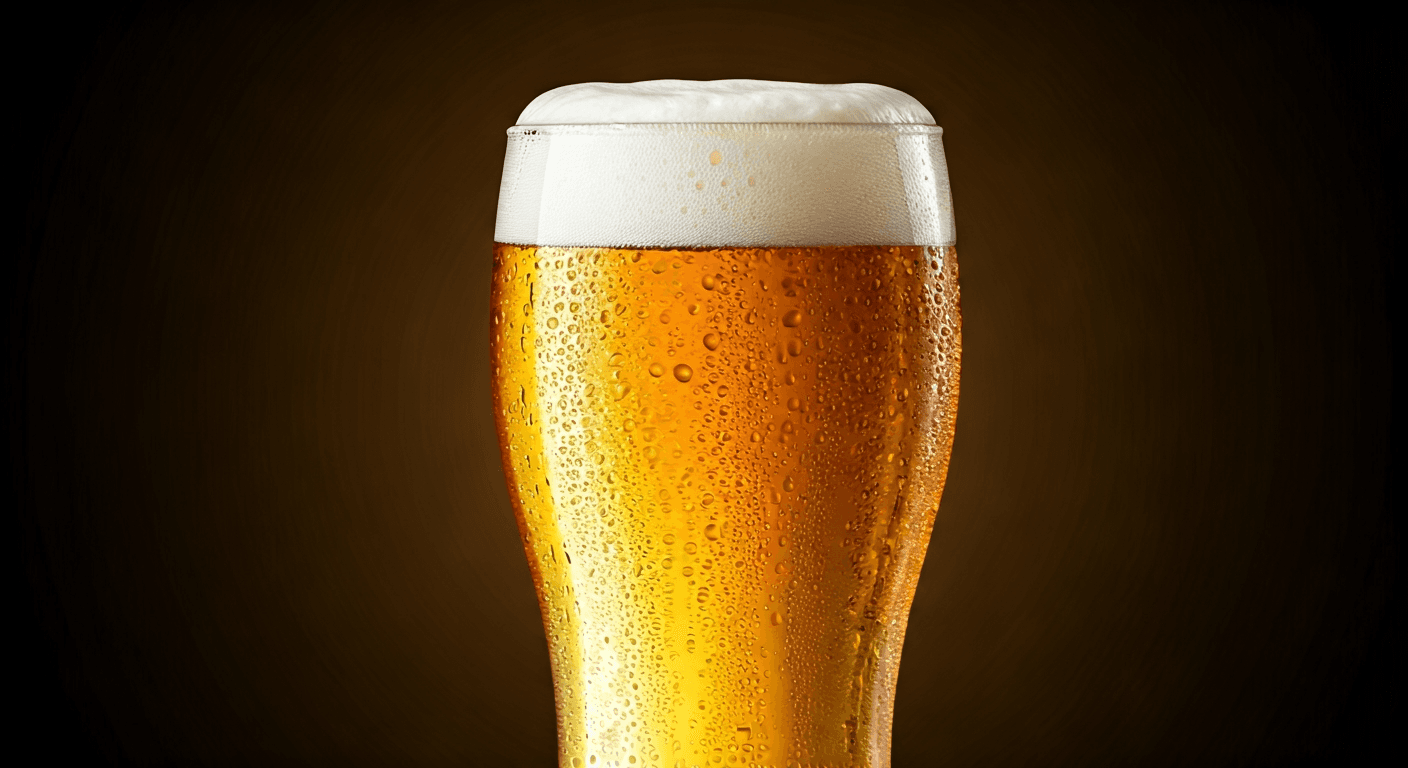
Crisp & Clean Beginner Pilsner (20L Batch)
Brew your very first classic Pilsner with this easy-to-follow 20-litre recipe, designed for homebrewers looking to master the refreshing world of lagers. Expect a crisp, clean, and perfectly balanced golden beer.
Brewing Specifications
1.047
1.010
Welcome to Project Beer! Your First Lager Awaits!
There's nothing quite like the satisfaction of brewing your own crisp, refreshing Pilsner. While lagers are often seen as more challenging due to temperature control, this recipe simplifies the process, making it accessible for intermediate homebrewers (or ambitious beginners ready for a slight challenge!). We'll guide you through every step to produce a beautiful, golden Pilsner with that unmistakable clean finish.
Equipment Needed
- Large brewing kettle (minimum 30L capacity)
- Mash tun or insulated cooler with false bottom/manifold
- Fermentation vessel (25L or larger, with airlock and bung)
- Hydrometer and test jar
- Thermometer (digital preferred for accuracy)
- Sanitiser (e.g., Star San, VWP)
- Long-handled stirring spoon
- Grain bag (if doing BIAB - Brew In A Bag) or lautering equipment
- Cooling coil (immersion chiller) or large ice bath
- Bottling bucket with spigot OR kegging setup
- Bottles, caps, and capper OR CO2 tank, regulator, and keg
- Measuring jugs and scales
- pH strips or meter (optional, but good for mash pH)
Ingredients (For 20 Litres / 5 Gallons)
Grains
- 4.5 kg (9.9 lbs) German Pilsner Malt
Hops
- 40g German Hallertau Mittelfruh Hops (3-5% AA) - 60 min addition
- 20g German Hallertau Mittelfruh Hops (3-5% AA) - 15 min addition
- 20g German Hallertau Mittelfruh Hops (3-5% AA) - 5 min addition
Yeast
- 2 sachets (22g) Fermentis SafLager W-34/70 Dry Lager Yeast
Other
- 25-30 Litres of good quality brewing water (de-chlorinated/filtered)
- 150g Dextrose (Corn Sugar) for bottling (adjust based on desired carbonation and batch size)
- Yeast nutrient (optional, but recommended for lagers)
Mashing Instructions
Total Mash Time: 70 minutes
- Heat Strike Water: Heat approximately 15 litres of brewing water to 70°C (158°F). This accounts for temperature drop when adding grains.
- Mash In: Slowly add the crushed Pilsner malt to the heated water in your mash tun, stirring constantly to avoid dough balls. Aim for a mash temperature of 66°C (151°F). If your temperature is off, add small amounts of hot or cold water and stir until you hit the target.
- Mash Rest: Maintain the mash temperature at 66°C (151°F) for 60 minutes. Insulate your mash tun well. Stir gently every 15-20 minutes.
- Mash Out: After 60 minutes, slowly raise the mash temperature to 75°C (167°F) and hold for 10 minutes. This stops enzymatic activity and makes the wort less viscous for sparging. If using a BIAB method, simply lift the grain bag and let it drain.
- Sparge: Slowly rinse the grain bed with an additional 10-12 litres of 77°C (170°F) water. Collect the wort in your brewing kettle until you have approximately 23-25 litres.
Boiling & Hopping
Total Boil Time: 90 minutes
- Bring to Boil: Bring your collected wort to a rolling boil. Skim off any protein foam (hot break) that forms early in the boil.
- First Hop Addition (Bittering): Once boiling, add the 40g of Hallertau Mittelfruh hops. This is your 60-minute addition.
- Yeast Nutrient (Optional): If using, add yeast nutrient with 15 minutes remaining in the boil.
- Second Hop Addition (Flavour): With 15 minutes remaining in the boil, add the 20g of Hallertau Mittelfruh hops.
- Third Hop Addition (Aroma): With 5 minutes remaining in the boil, add the remaining 20g of Hallertau Mittelfruh hops.
- Cooling: After the 90-minute boil, turn off the heat. Immediately begin rapidly cooling your wort to pitching temperature, ideally using an immersion chiller or an ice bath. Aim to get the wort down to 10-12°C (50-54°F) as quickly as possible.
- Transfer to Fermenter: Once cooled, sanitise your fermentation vessel and carefully transfer the wort into it. Try to leave as much hop debris and cold break material behind in the kettle as possible.
- Measure Original Gravity (OG): Take a sample of your cooled wort and measure its Original Gravity using your hydrometer. Record this reading. It should be around 1.047.
Fermentation
Total Fermentation Time: 4-6 weeks (including lagering)
- Pitch Yeast: Ensure your wort is at 10-12°C (50-54°F). Open the two sachets of SafLager W-34/70 yeast and sprinkle them evenly over the surface of the wort. Do not stir initially; the yeast will rehydrate naturally.
- Primary Fermentation: Seal your fermenter with an airlock and place it in a temperature-controlled environment. Maintain a fermentation temperature of 10-12°C (50-54°F) for 10-14 days, or until fermentation activity noticeably slows and your hydrometer readings are stable for 2-3 days.
- Diacetyl Rest: Once fermentation activity has subsided, raise the temperature to 16-18°C (61-64°F) for 2-3 days. This crucial step helps the yeast clean up any buttery off-flavours (diacetyl) that can be common in lagers.
- Cold Crash / Lagering: After the diacetyl rest, slowly drop the temperature of your fermenter to 0-4°C (32-39°F). This is the lagering phase, which helps clarify the beer and mellow out flavours. Keep it at this cold temperature for 2-4 weeks. The longer, the better for a cleaner lager profile.
- Measure Final Gravity (FG): After lagering, take another hydrometer reading. Your Final Gravity should be around 1.010. If it's stable, your beer is ready for packaging.
Bottling/Kegging
Carbonation Time: 2-3 weeks (bottling) / 1 week (kegging)
For Bottling:
- Sanitise: Thoroughly sanitise your bottling bucket, bottles, caps, and capper.
- Prepare Priming Sugar: Dissolve 150g of dextrose (corn sugar) in 250ml of boiling water. Let it cool completely.
- Transfer & Mix: Gently siphon your lager from the fermenter into the sanitised bottling bucket, leaving the yeast cake behind. Add the cooled priming sugar solution to the bottling bucket. Stir very gently to ensure even distribution without oxidising the beer.
- Bottle: Fill your bottles, leaving about 2-3 cm of headspace. Cap immediately.
- Condition: Store bottles at room temperature (18-22°C / 64-72°F) for 2-3 weeks to allow for carbonation. Then, transfer to the fridge and chill thoroughly before serving.
For Kegging:
- Sanitise: Thoroughly sanitise your keg.
- Transfer: Gently siphon your lager from the fermenter into the sanitised keg.
- Force Carbonate: Connect your CO2 tank and regulator. Set the pressure to 10-12 PSI and let it carbonate in the fridge for about 1 week. You can also use methods like 'set and forget' or 'burst carbonation' for faster results.
- Chill & Serve: Once carbonated, chill thoroughly and enjoy!
Tips for a Perfect Pilsner
- Temperature Control is Key: For lagers, maintaining consistent fermentation temperatures is crucial. Invest in a fermentation fridge or use a 'swamp cooler' for more stable temperatures.
- Sanitisation, Sanitisation, Sanitisation: This cannot be stressed enough, especially for lighter beers like Pilsners where off-flavours are easily noticeable.
- Water Chemistry (Advanced): While not strictly necessary for a beginner, good water chemistry can elevate your Pilsner. Aim for soft water with low mineral content, similar to Pilsen.
- Patience is a Virtue: Lagers take time. Don't rush the fermentation or lagering stages. The extra waiting is worth it for the clean, crisp results.
- Yeast Pitch Rate: Lagers typically benefit from a higher pitch rate than ales. Using two dry yeast packets for 20L is a good beginner approach. For liquid yeast, a starter is highly recommended.
Enjoy your homemade Pilsner! Share your brewing journey with us on social media using #ProjectBeerHomebrew.